Getting Started with Evolve
A complete walkthrough of starting your first evolution, from selecting a repository to launching optimization runs.
Before You Begin
Make sure you have:
Step 1: Navigate to Evolve
Open your workspace in the web dashboard and navigate to the Evolve page. You’ll see all repositories in your workspace displayed as cards, each showing the repository name, best score achieved, number of evolution runs, total cost, and last updated time.
Repositories with active evolutions show a green Running indicator.
Step 2: Select a Repository
Click on a repository card to open its detail page. Here you can browse all past and current evolutions, search and sort them by best score, number of runs, or date, and start a new one.
Step 3: Start an Evolution
Click Start Evolution to open the guided setup. This walks you through four steps.
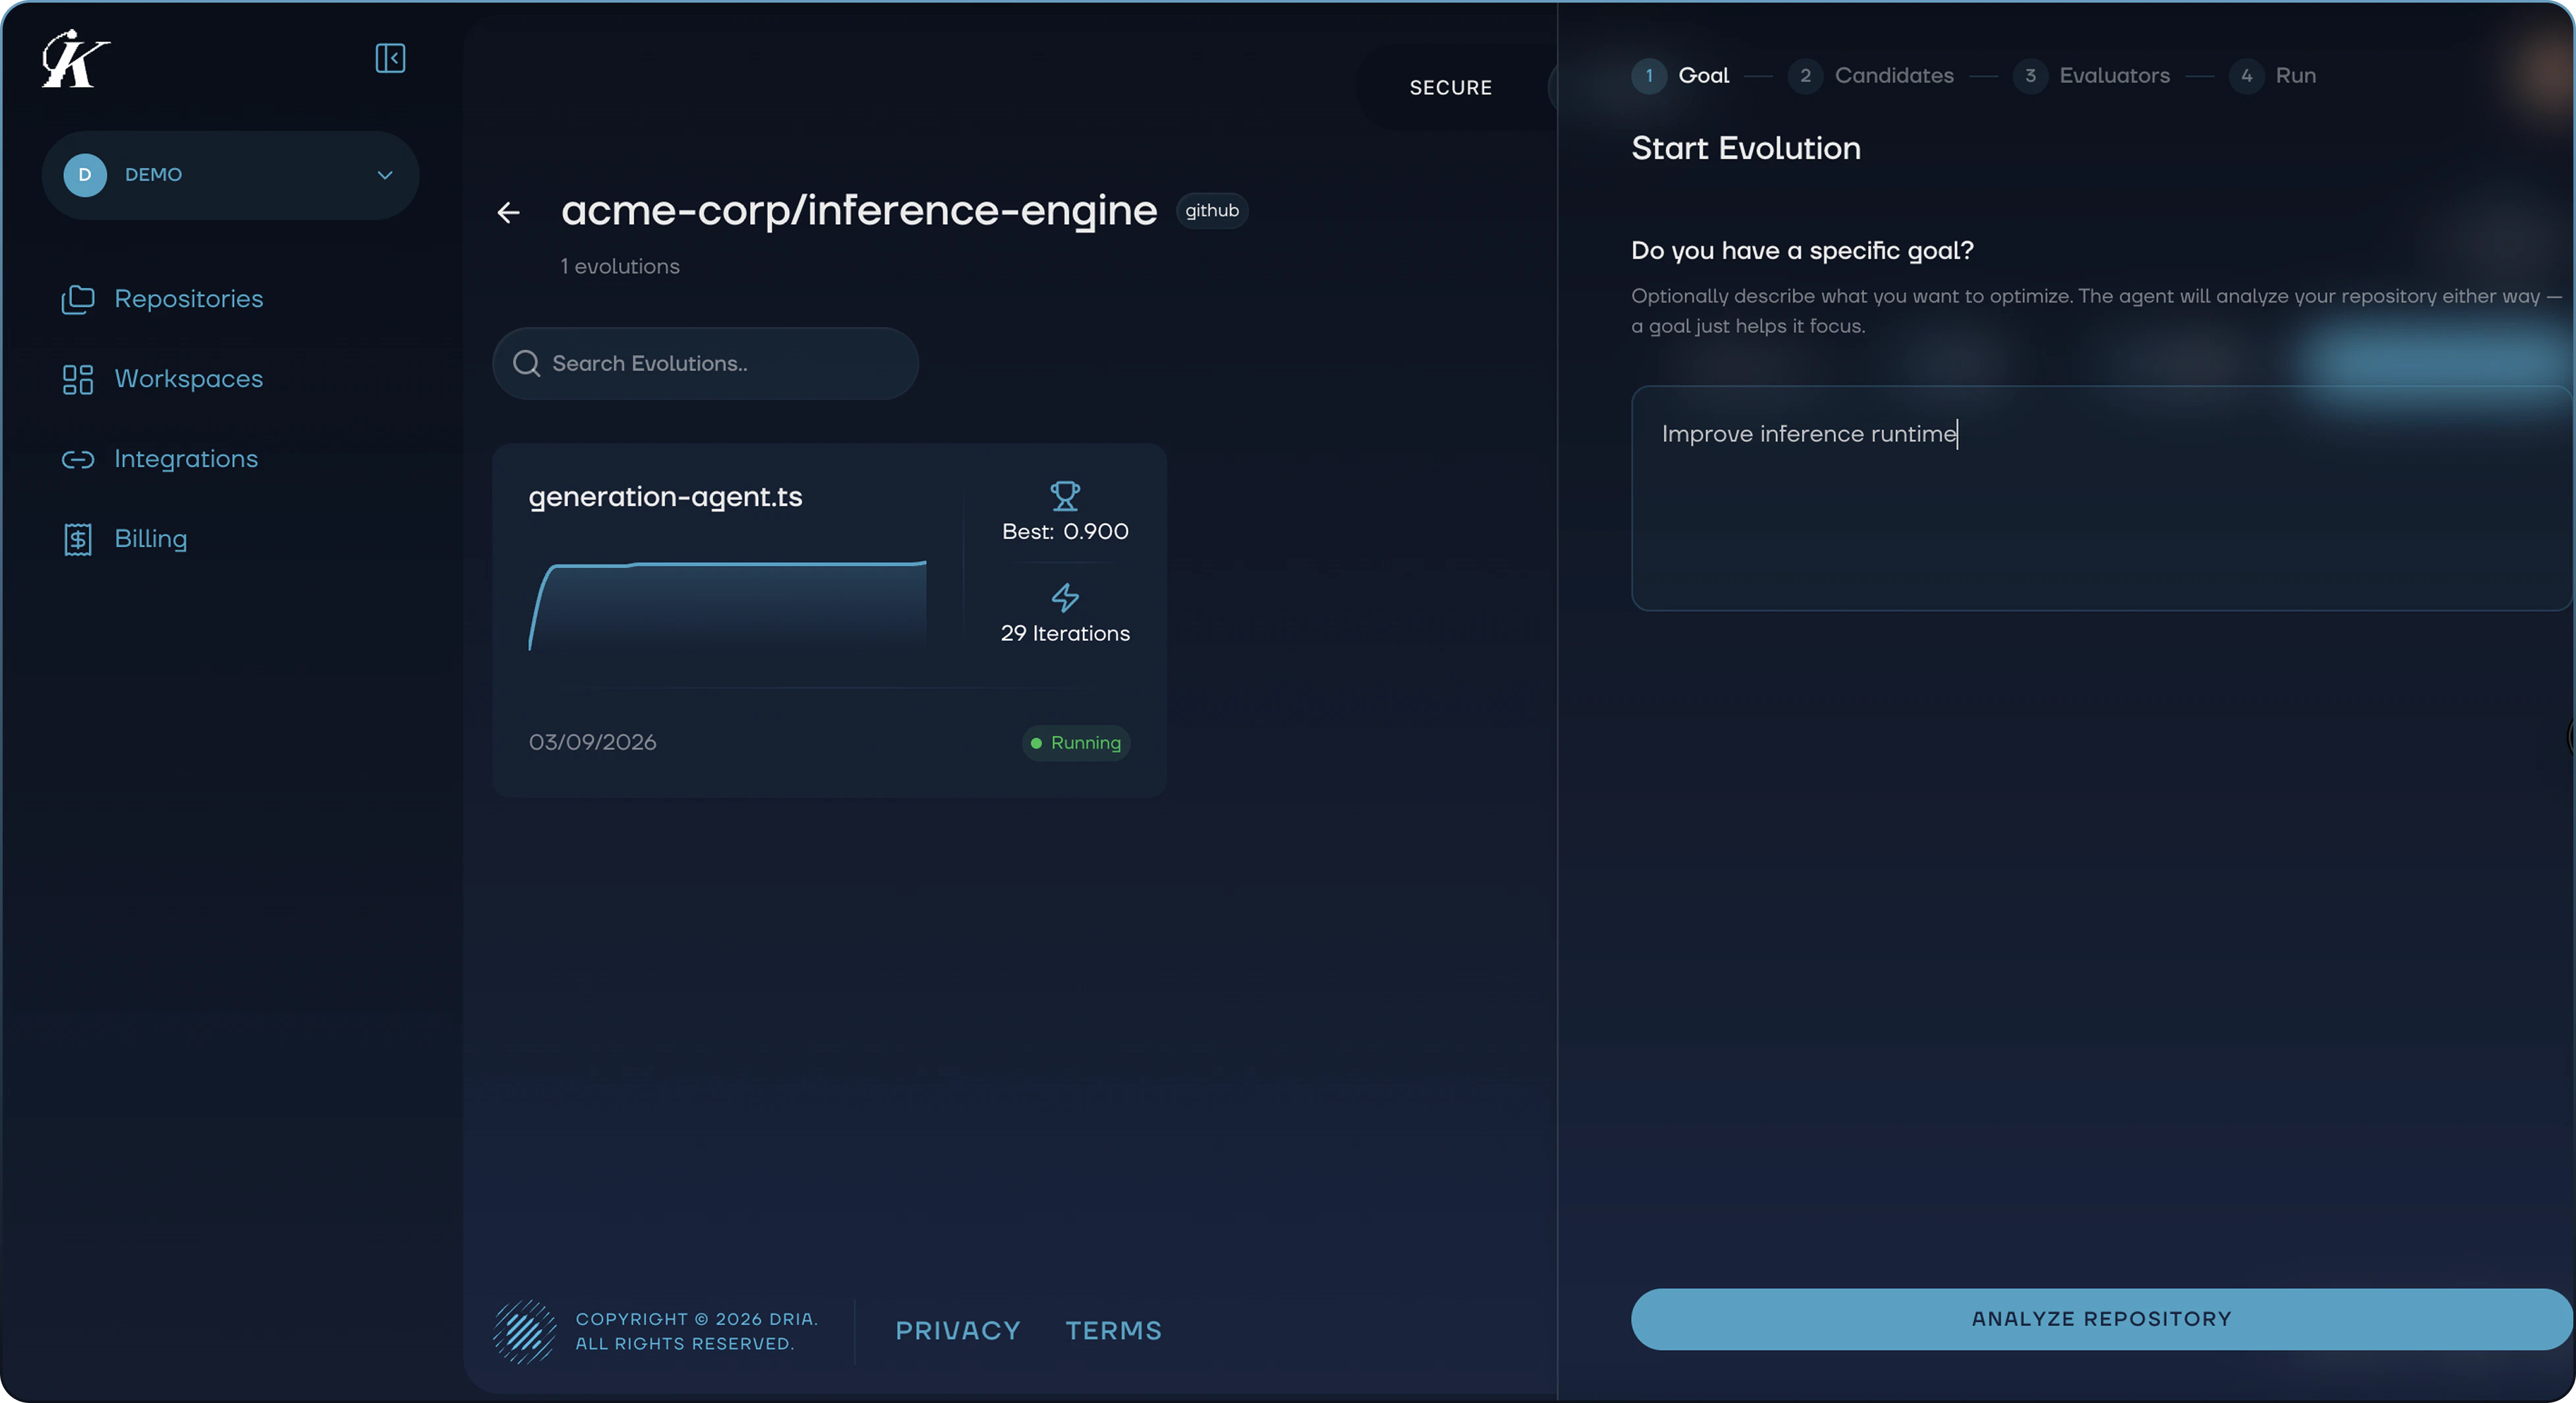
1. Goal
Describe what you want to optimize in plain text. For example: “Improve inference runtime” or “Reduce gas usage in the swap function.” The goal is optional. If you skip it, Evolve analyzes your repository and identifies optimization opportunities on its own. Click Analyze Repository to proceed.
2. Candidates
Kai’s analyzer agent scans your repository and returns a list of file candidates. Each candidate shows:
- File path and line range identifying the optimization target
- Rationale explaining why this code is a good candidate
- Estimated impact (High, Medium, or Low)
- Suggested evaluator strategy
Toggle candidates on or off to control which parts of your code Evolve will target. Each selected candidate becomes a separate evolution run.
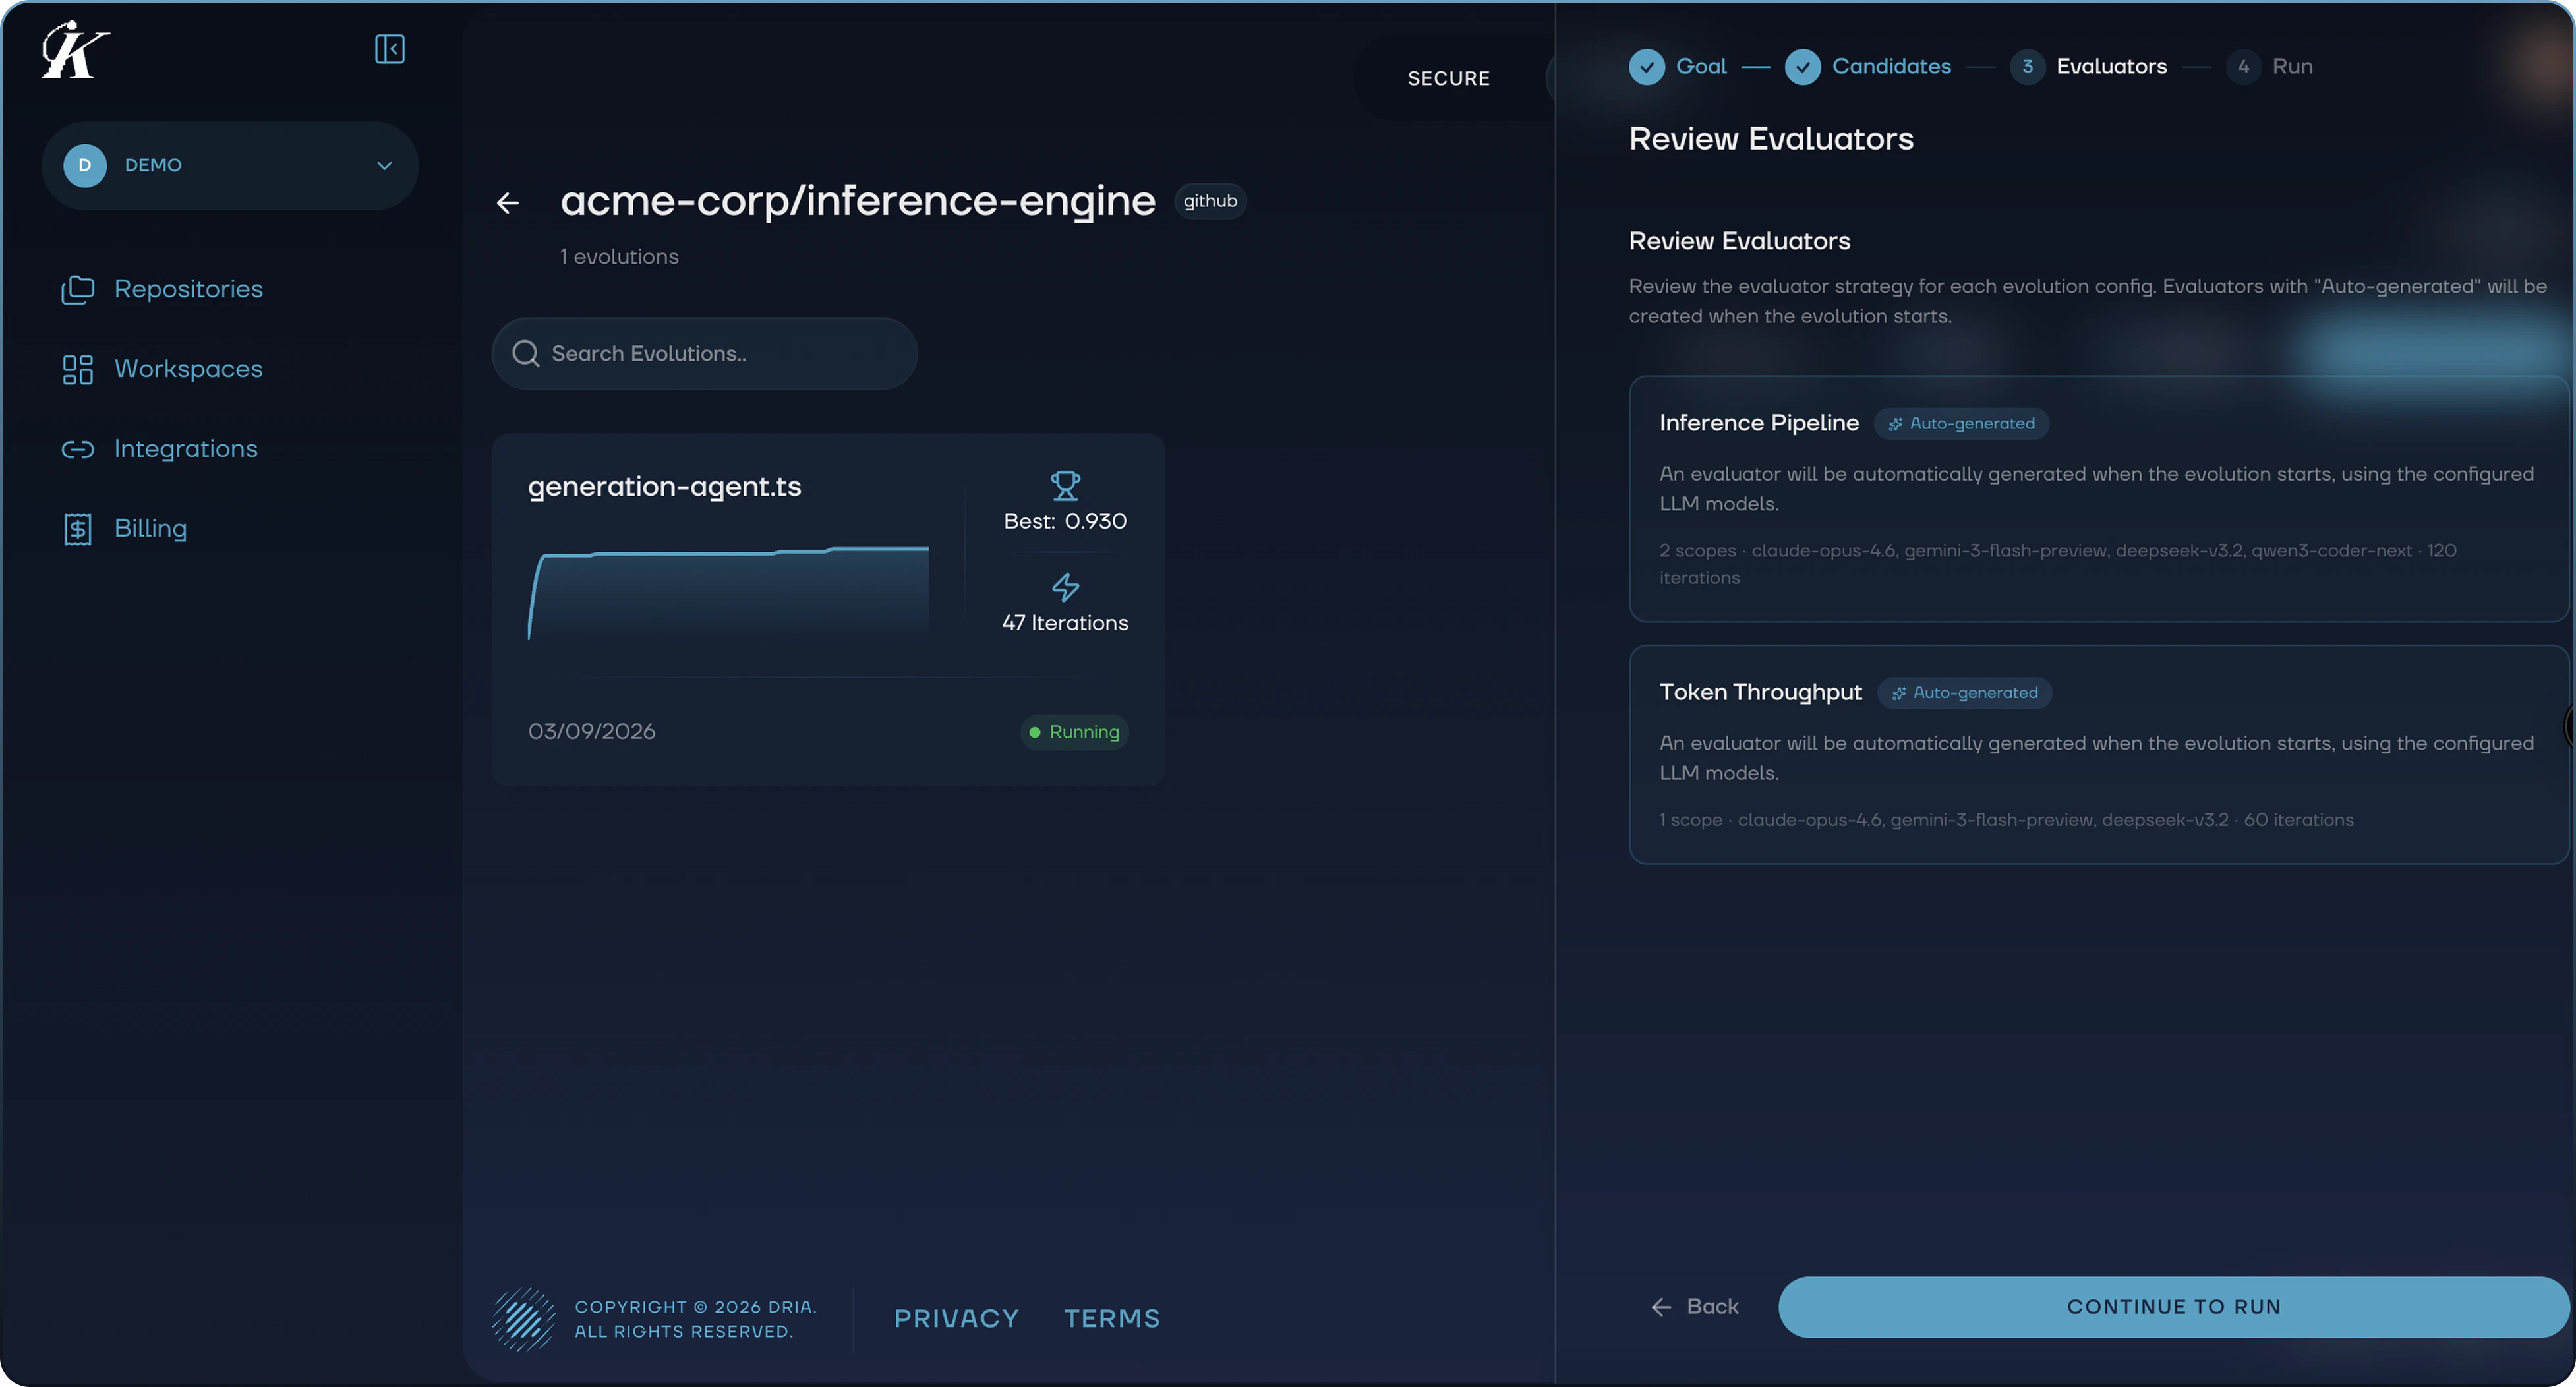
3. Evaluators
For each selected candidate, Kai shows the evaluator strategy it will use:
- Auto-generated: Kai creates an evaluator based on your code’s behavior
- Existing: Uses an evaluator already defined in your repository
- LLM only: Uses LLM-based scoring without a formal evaluator
Review the evaluators and click Continue to Run when ready.
4. Run
The final step shows a summary of all evolution configurations. Tap any configuration to view and adjust its settings:
- Scopes: The file and line ranges being optimized
- Models: Which LLMs to use and their relative weights
- Max iterations: How many evolution cycles to run
- Diff-based evolution: Whether to evolve diffs or full programs
- Temperature and max tokens: LLM generation parameters
- Early stopping: Automatically stop when improvement plateaus
- Prompt settings: System message and program diversity controls
Click Start Evolutions to launch all configured runs.
Start simple. For your first evolution, accept the default settings and let the analyzer choose candidates. You can fine-tune configurations on subsequent runs once you see how the results look.
Step 4: Monitor Progress
Once started, each evolution appears on the repository detail page with a Running status badge. Evolutions run in Kai’s cloud infrastructure, so you can close the dashboard and come back later.
Each evolution card shows a mini chart of score progression, the current best score, iteration count, and status.
Step 5: Review Results
When an evolution completes, click on it to open the detail page. See Understanding Results for a full guide to interpreting your evolution’s output.
Advanced: Manual Configuration
For users who want full control, the manual start flow lets you:
- Browse your repository’s file tree and select specific line ranges
- Point to an existing evaluator file or generate one with AI
- Configure models, prompts, iteration counts, migration ratios, and migration frequency
This is useful when you already know exactly which code to target and how to evaluate it.
Using Evolve via MCP
If you’re using Kai through the MCP server, you can manage evolutions programmatically:
| Tool | Description |
|---|
evolutions_start | Start a new evolution task |
evolutions_view | Check status and progress |
evolutions_list | List all evolutions for a repository |
evolutions_iterations | View iteration history |
evolutions_programs | Get the generated programs |
evolutions_abort | Stop a running evolution |
Next Steps